The Story
Boom Balloon began the way a lot of good ideas do: two friends, a silly premise, and the stubbornness to actually build it. Between roughly 2016 and 2018, Dirk and Christian turned "what if a machine inflated a real balloon until it burst?" into a working electronic party game — designed, coded, printed, and prototyped in multiple units. It was a hobby project with a serious, pre-commercial ambition behind it: the goal was a boxed product you could put on a shelf.
From breadboard to game
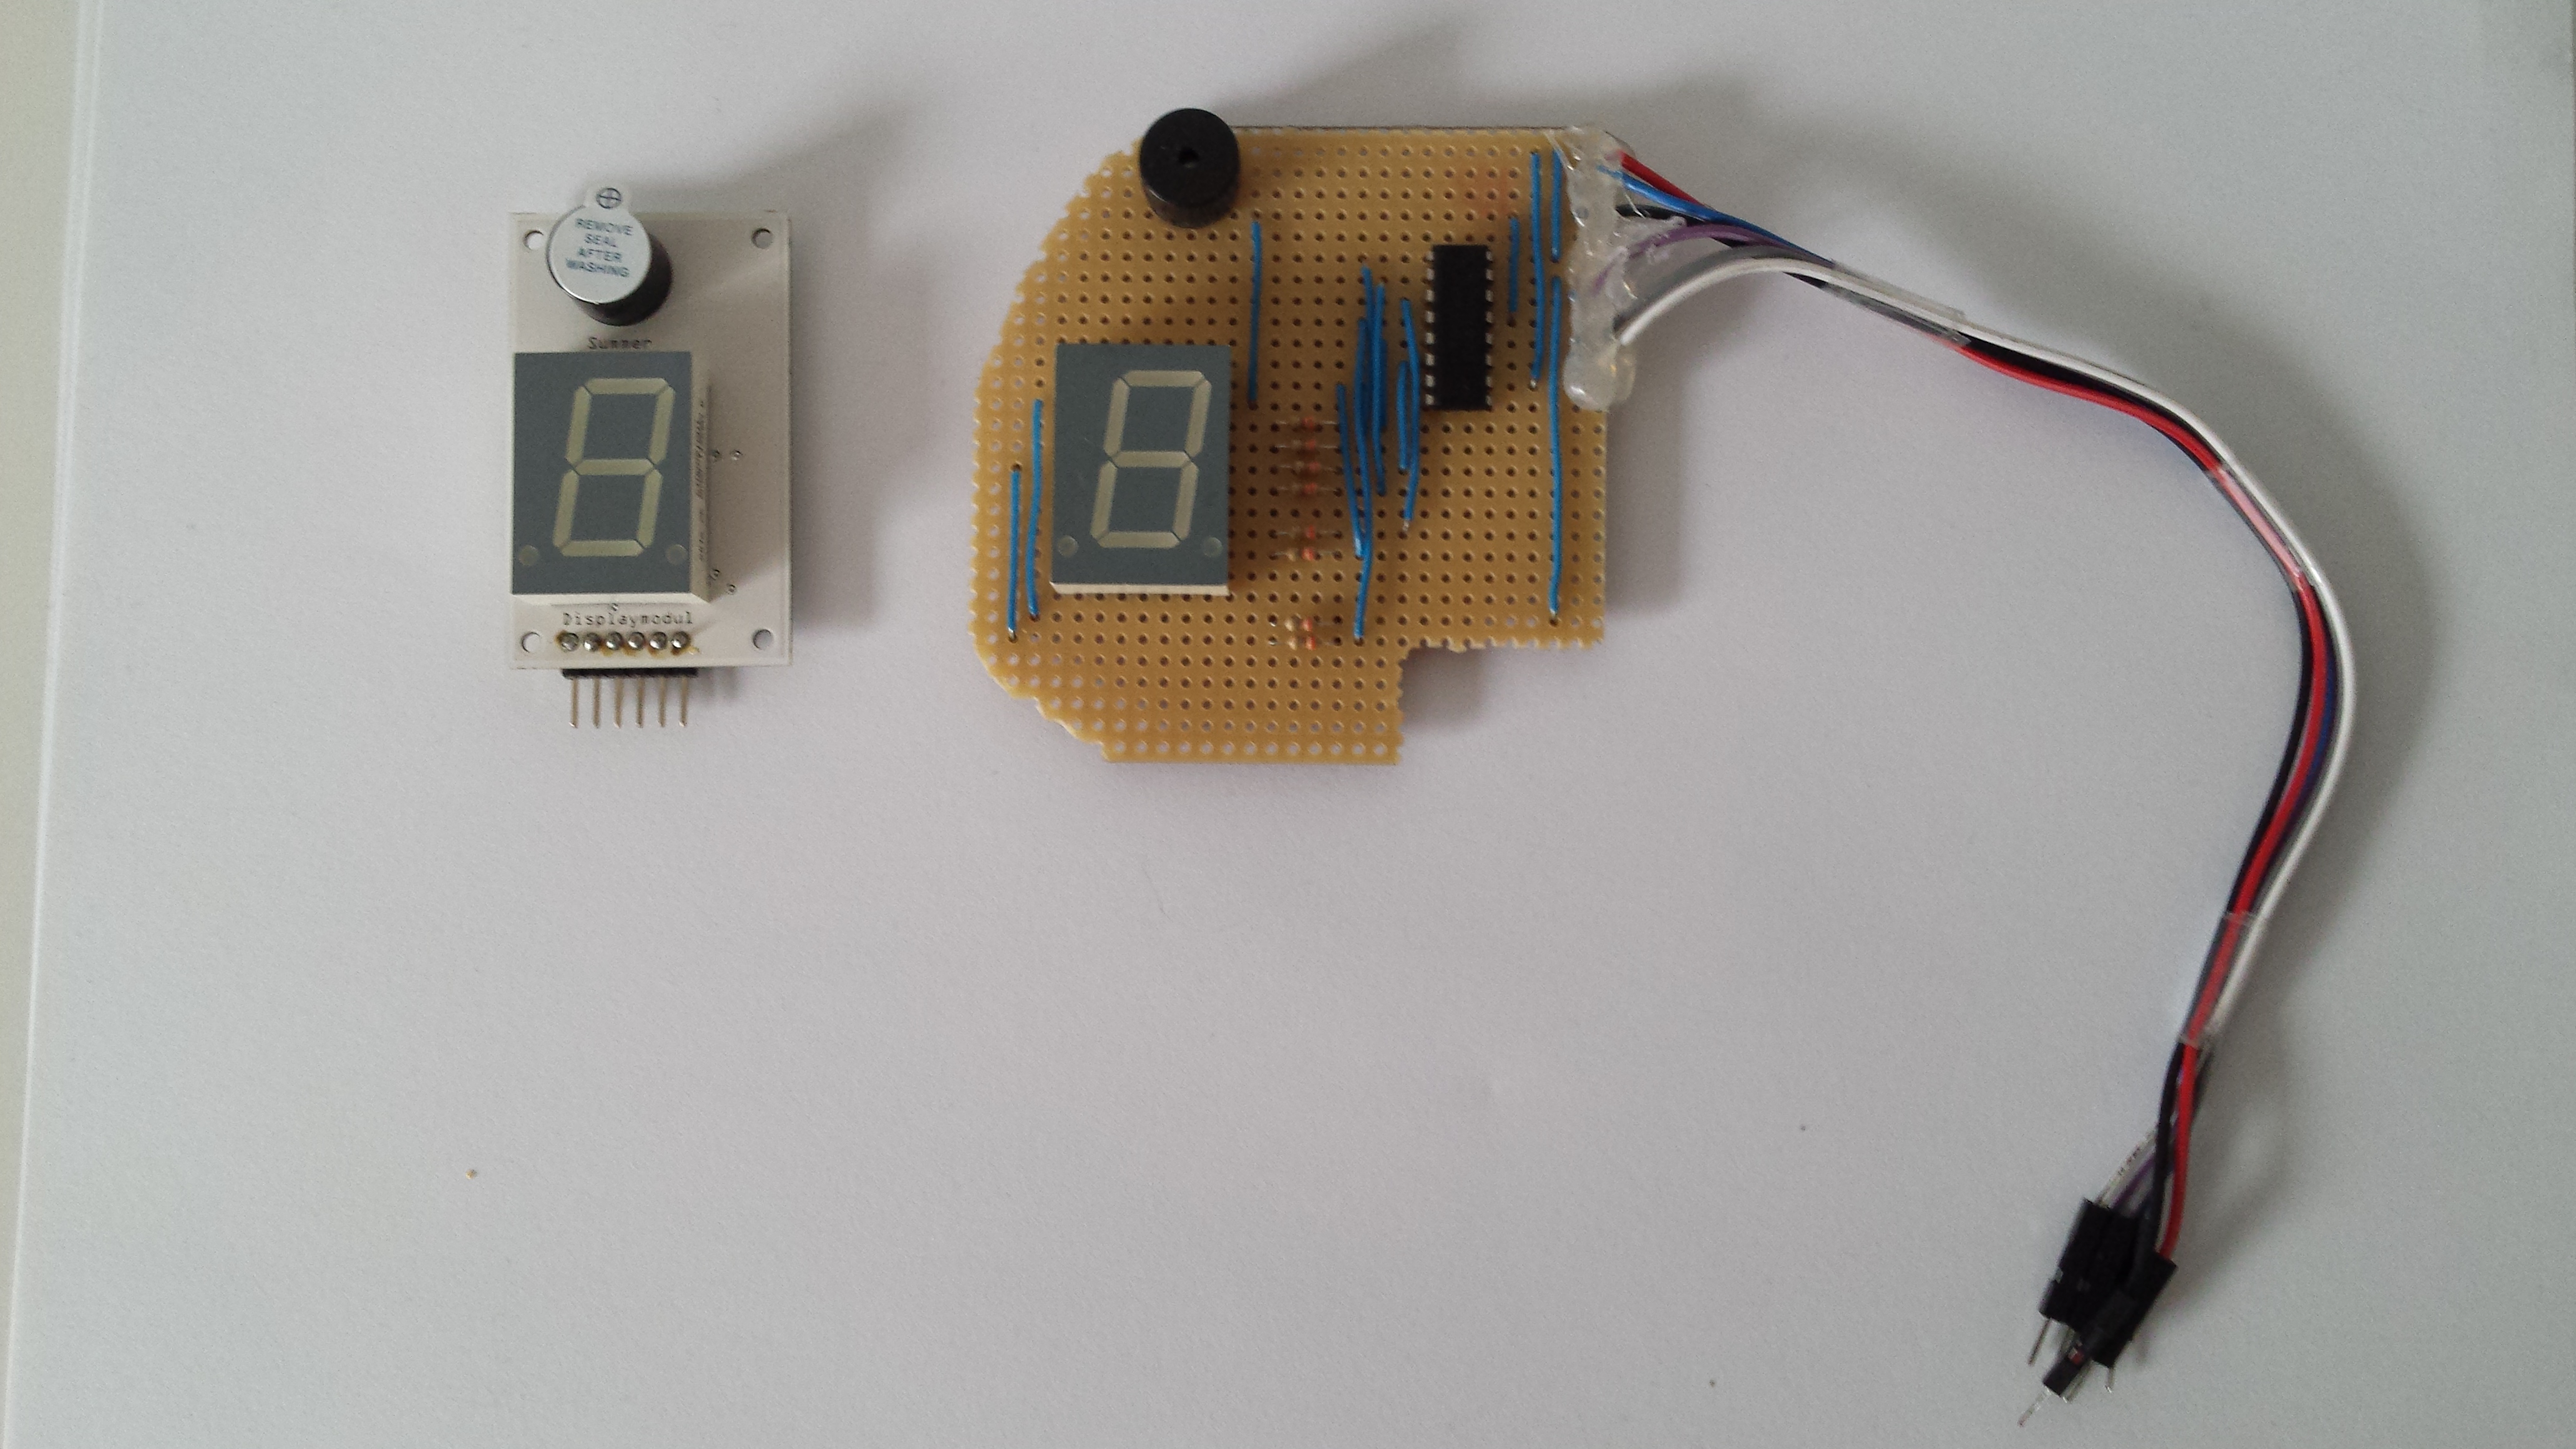
The concept is deceptively simple — a balloon, a pump, and the nerve to keep playing — but making it read cards on its own was where the engineering lived. Instead of buttons, Boom Balloon uses a deck of cards punched with an optical code, and a custom reader that scans each card as it slides in. That decision shaped everything that followed: the card artwork, the reader mechanism, the firmware, and eventually the enclosure all had to serve the card.
Timeline
2016 — First prototypes and the card reader. The earliest builds proved the core loop on a breadboard: a card goes in, the machine inflates or deflates, a display tracks the game. In parallel came the first CAD work for the optical card reader — the brick-styled tray that gives the game its look and does the actual scanning.
2017 — Art, bill of materials, and a real deck. With the mechanics working, the project turned to polish. The card artwork was finalized, the bill of materials was locked down, and a full deck of cards was printed and boxed. This was the year Boom Balloon started to look and feel like a product rather than a bench experiment.
2018 — Toward an enclosure. The final push was housing the electronics. Enclosure options were quoted and a sticker was produced for a metal-box version of the game. This is also where the project met its practical ceiling: a nice enclosure at hobby quantities is expensive, and the numbers did not add up for a small run.
The controller: from Micro to Nano
Under the hood, Boom Balloon runs on an Arduino microcontroller. The design was migrated from an earlier board built around the Arduino Micro — the "prototype 2" generation — to the Arduino Nano (ATmega328P) used in the current prototype. The move brought the electronics onto the compact, low-cost controller that the finished firmware targets today.
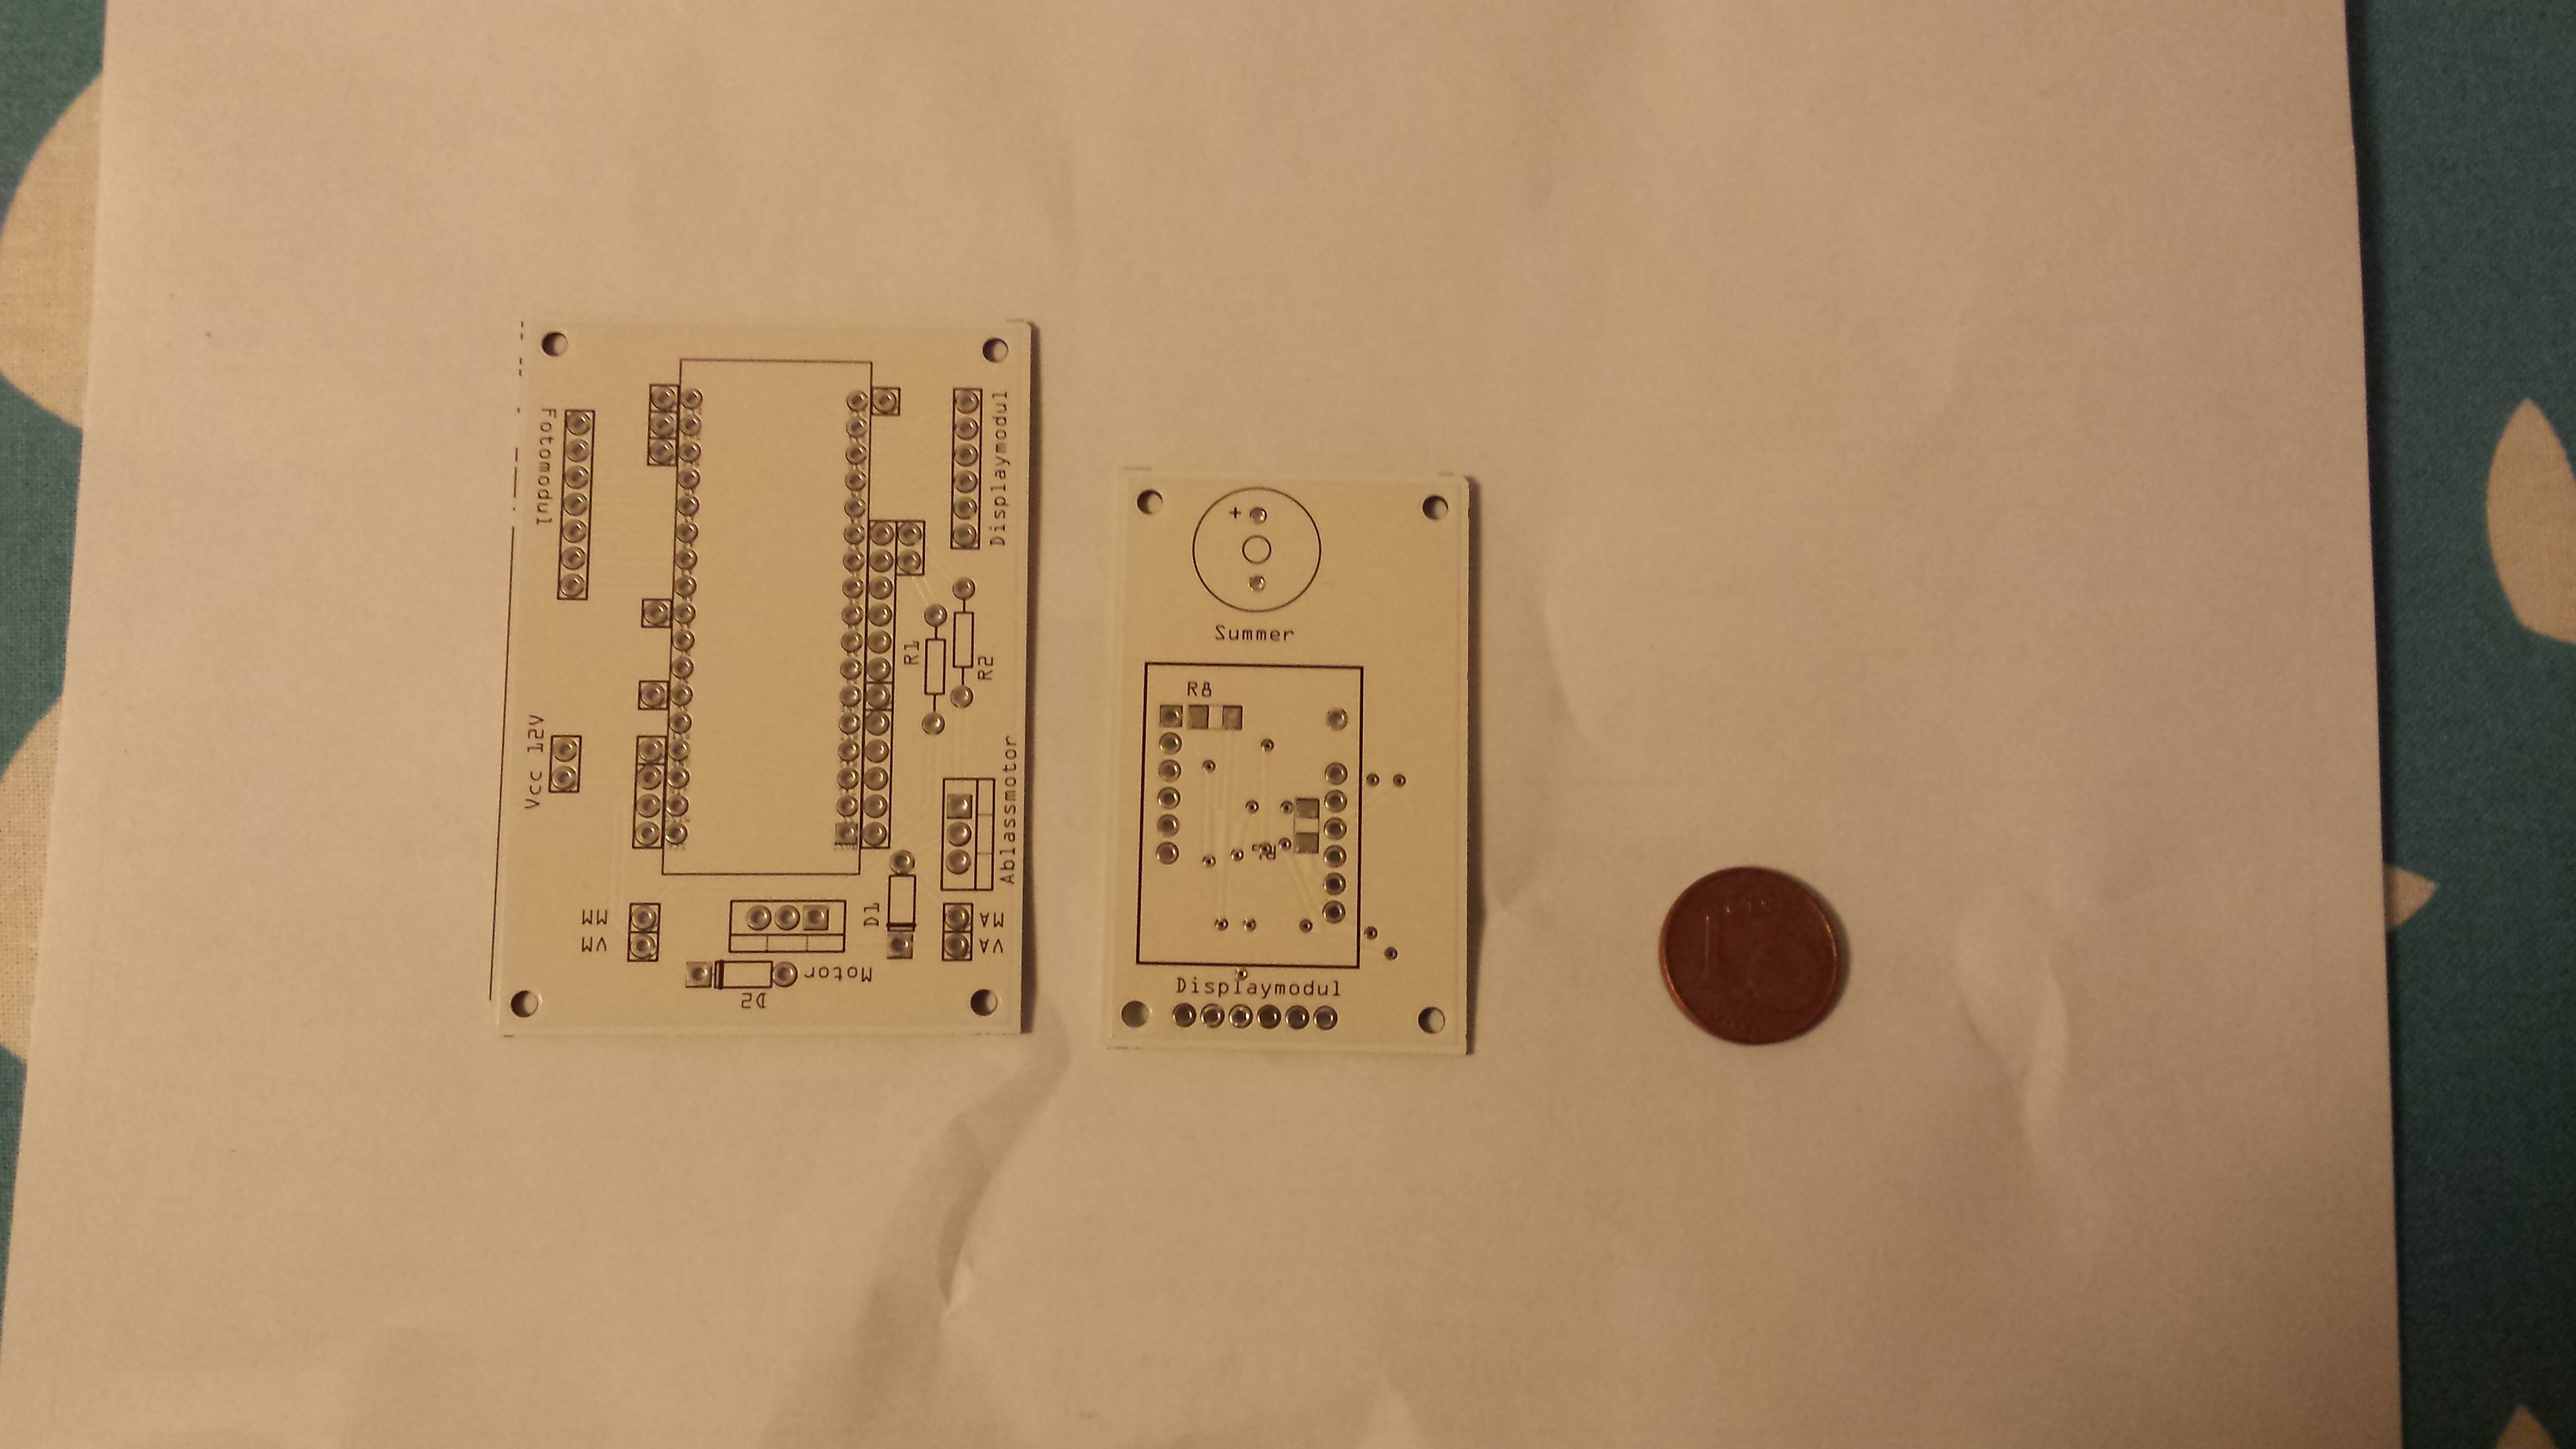
Where it landed
Boom Balloon is a functional, multi-unit prototype. The firmware is complete — cards are decoded, the balloon-volume model runs, and the game plays end to end with sound and a live display. What never happened was the leap to a retail product: the housing was cost-blocked, and the retail boxes were never ordered.
Across all the prototype work — boards, pump, valve, reader, printed cards, and enclosure quotes — the total spend came to roughly €577. For a project that produced a genuinely playable machine and a printed deck, that is a modest price for the lesson every hardware hobbyist eventually learns: the electronics are the easy part; it is the box around them that decides whether a prototype becomes a product.
This site is the archive of that work — a place to see how Boom Balloon plays, how it was built, and how the machine reads its cards. Start with How It Works, or browse the card deck and the build guide.